Windows Installation

1. Software Installation.
After downloading the Monduo app from your downloads folder, open it and follow the on-screen prompts to complete the installation.
Download Windows Software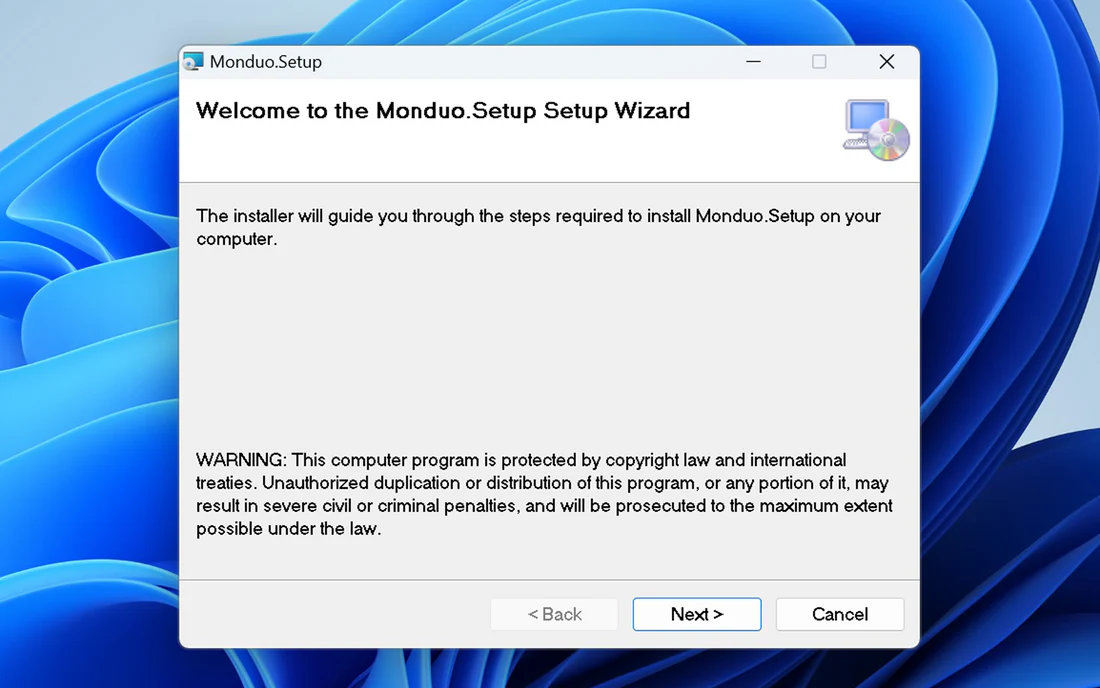
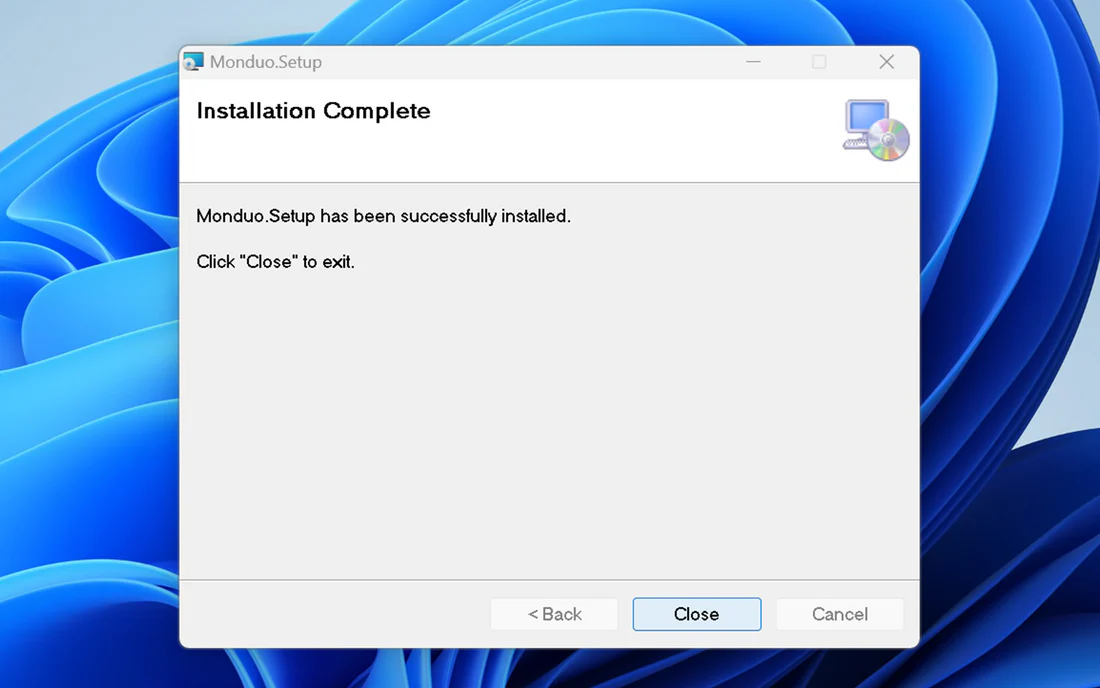
2. Start the Monduo App.
After the installation is completed, you can close the installation window and proceed to the next step.
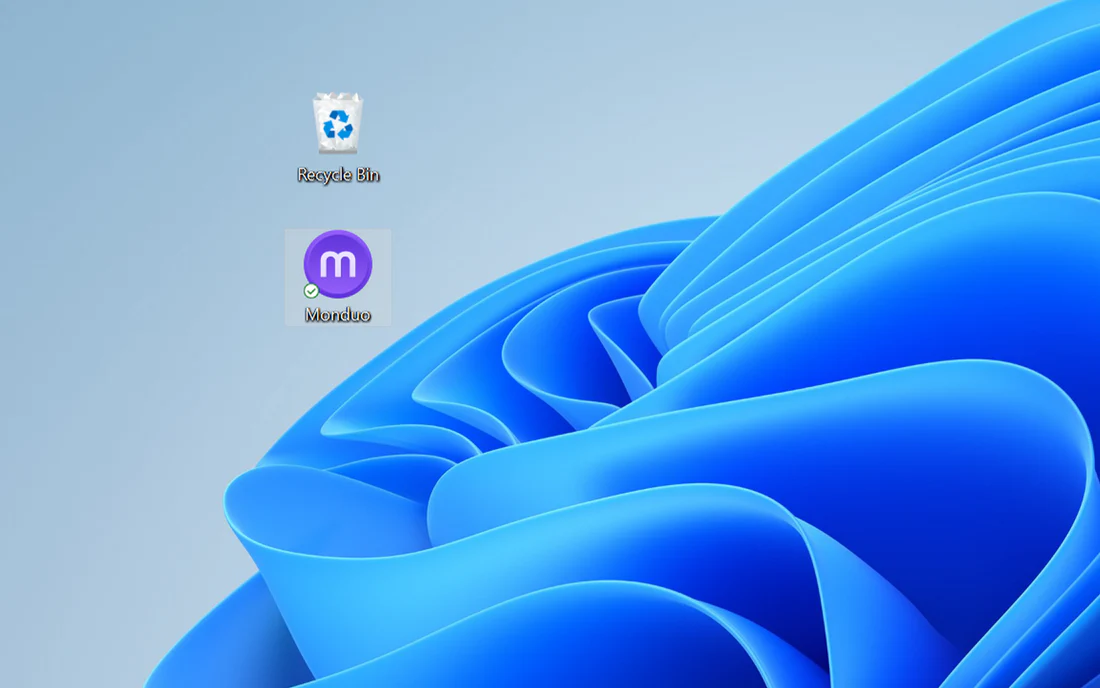
3. Monduo Shortcut Installed.
The Monduo shortcut icon will appear on your Desktop screen. Open the app to start configuring your Displays.
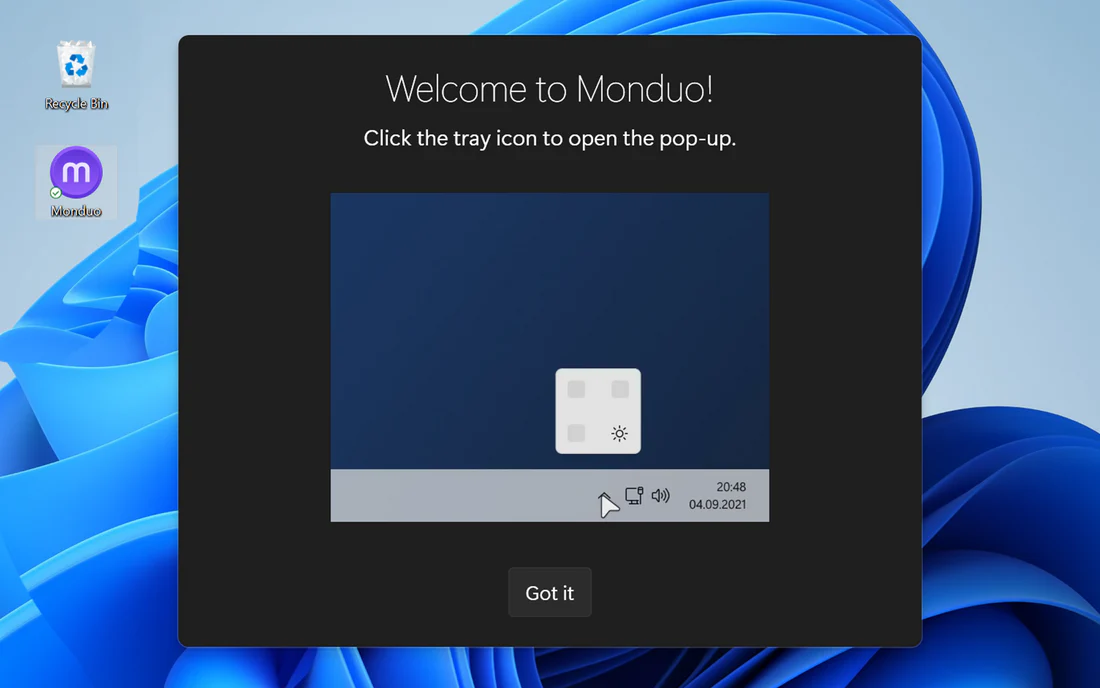
4. Welcome to the Monduo App.
If your displays are not connected, connect them now. Ensure both screens have a connection to your laptop to proceed.
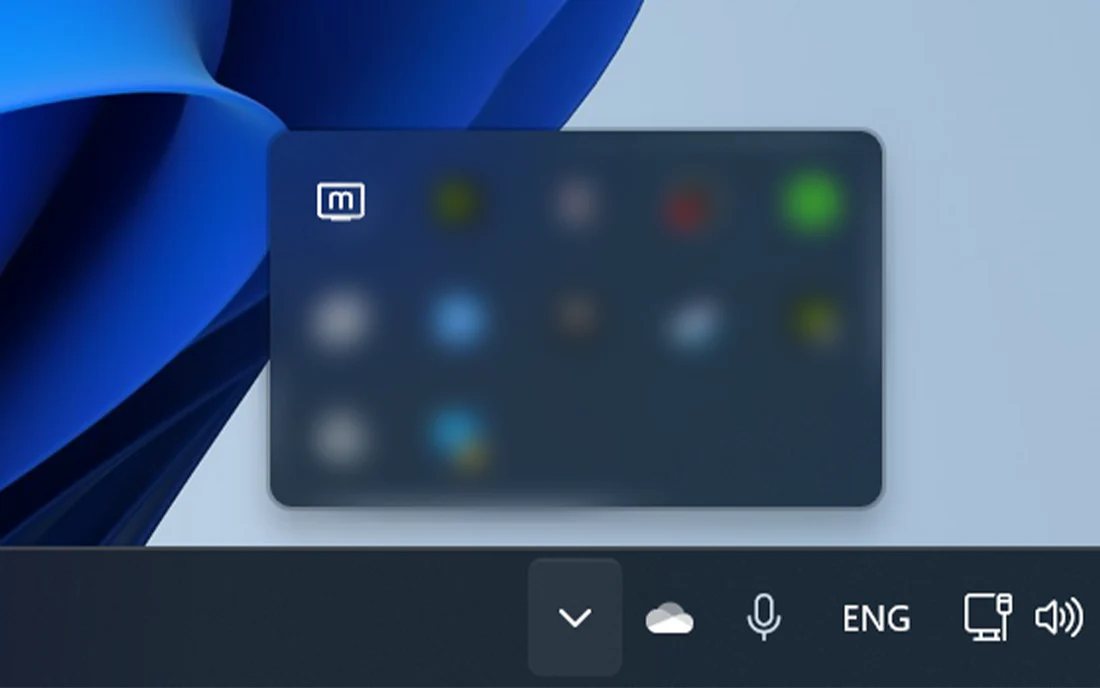
5. Access the Monduo App.
The Monduo app icon will appear in your system tray, allowing you to easily access settings and configurations at any time.
6. Optimization.
Once you have accessed the app via the tray icon, you can begin to optimize your Monduo screens to match your existing laptop display.

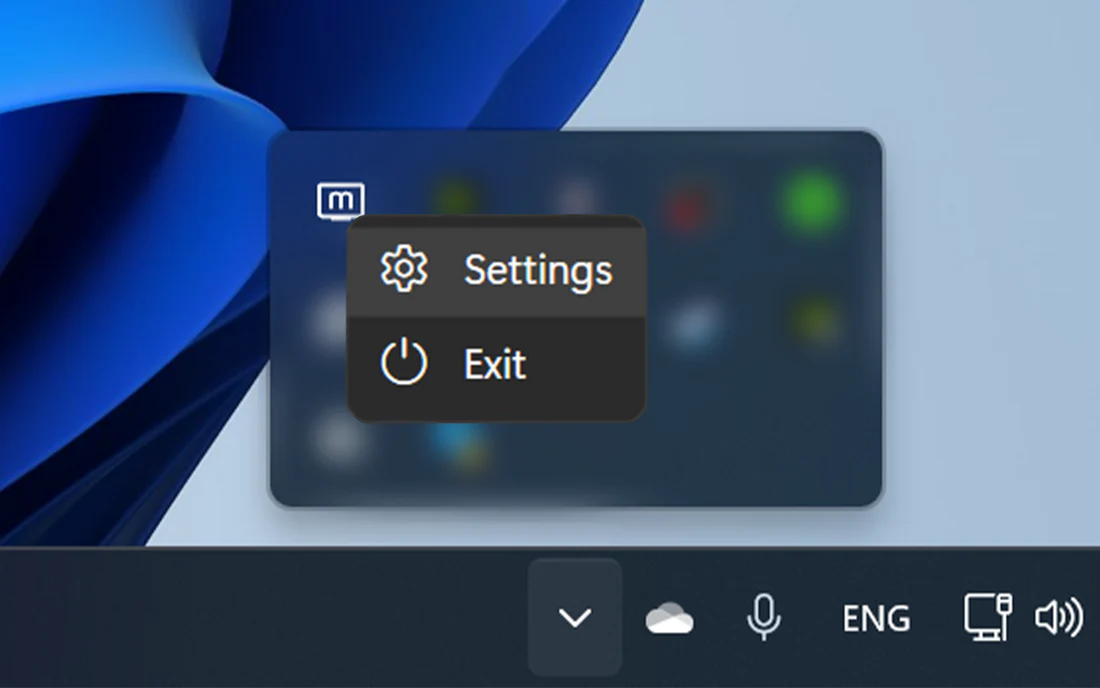
7. Opening Monduo App settings.
Should you feel the need to access the settings for the app, you can do so by right clicking on the Monduo icon in the system tray and selecting the Settings option.