MacOS Installation
1. Software Installation.
After downloading the Monduo app, open it, and your screen should resemble the displayed image. Drag the Monduo app icon into the Applications folder.
Download macOS Software
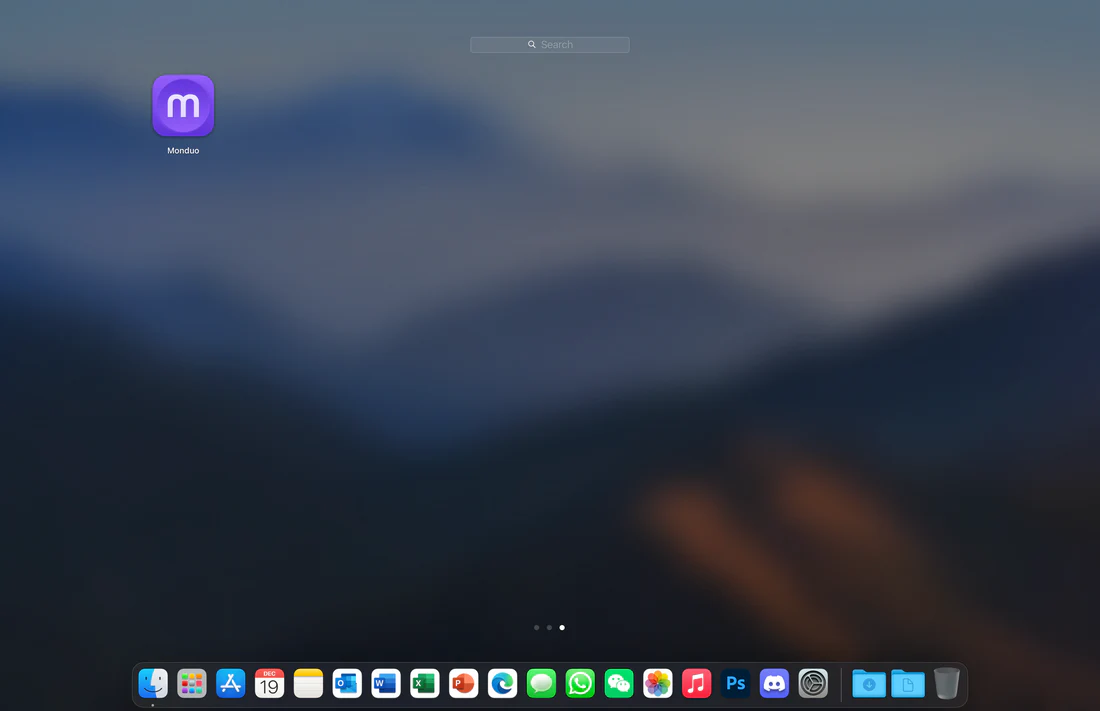
2. Start the Monduo App.
After you have dragged the Monduo app into the Applications folder, click on the LAUNCHPAD, then click on the Monduo app to start it.
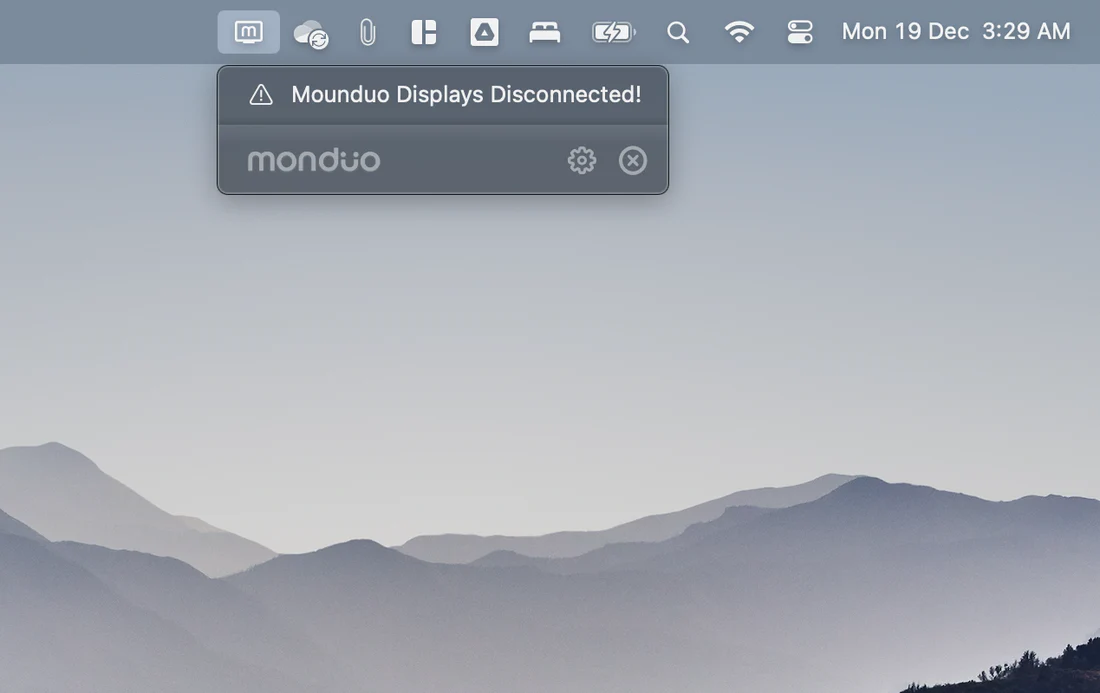
3. Your First Time.
Congratulations and welcome to using the Monduo app for the first time. A message will appear indicating that the Monduo displays are not connected. Connect the displays to your laptop now.
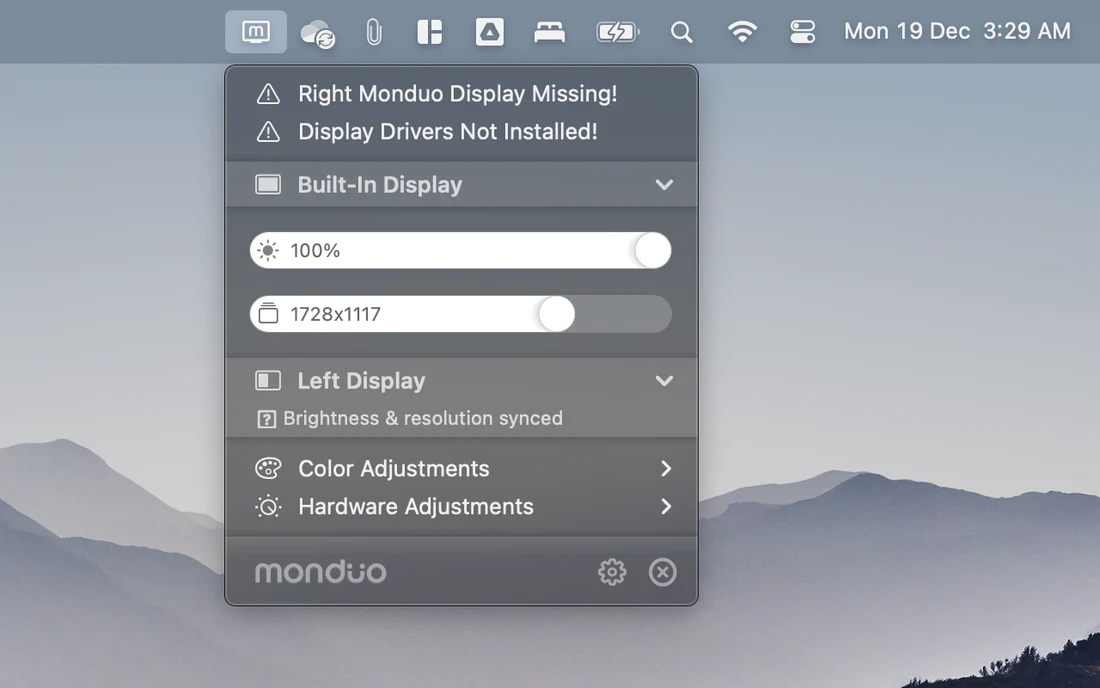
4. Display Drivers.
Ensure both displays are connected. A reminder will appear if the Display Drivers have not been installed. Click on that text to begin the Driver installation.
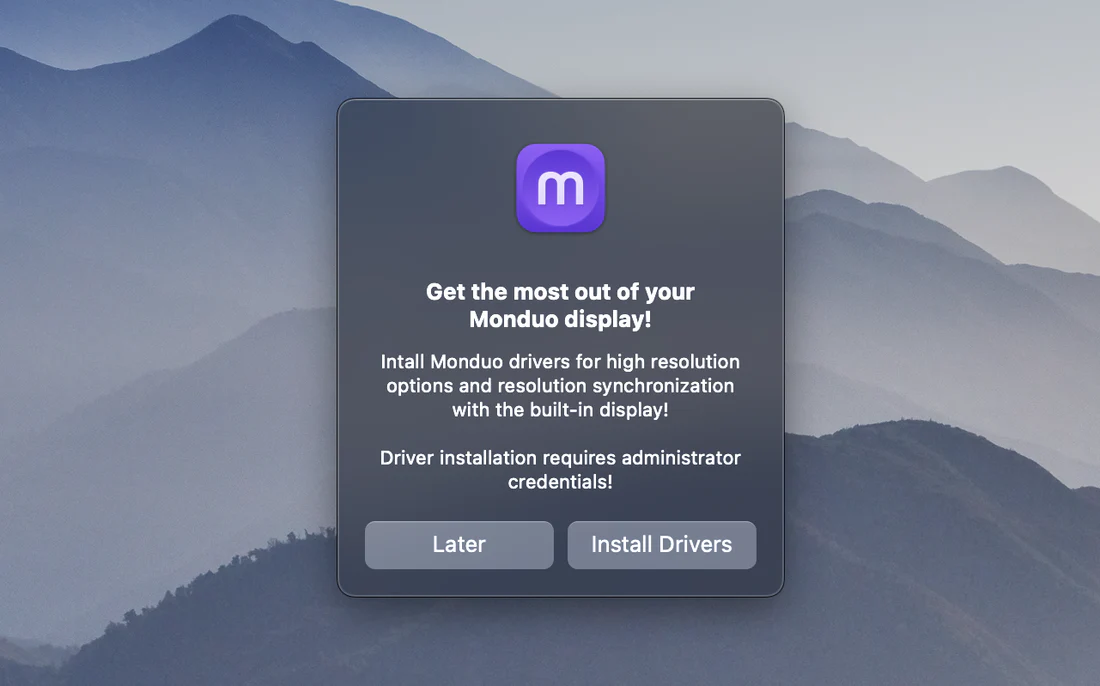
5. Install.
You will be prompted to install the Monduo drivers. This will enable high resolution (HiDPI) in macOS and a better viewing experience. Click Install Drivers and enter your password credentials to proceed.
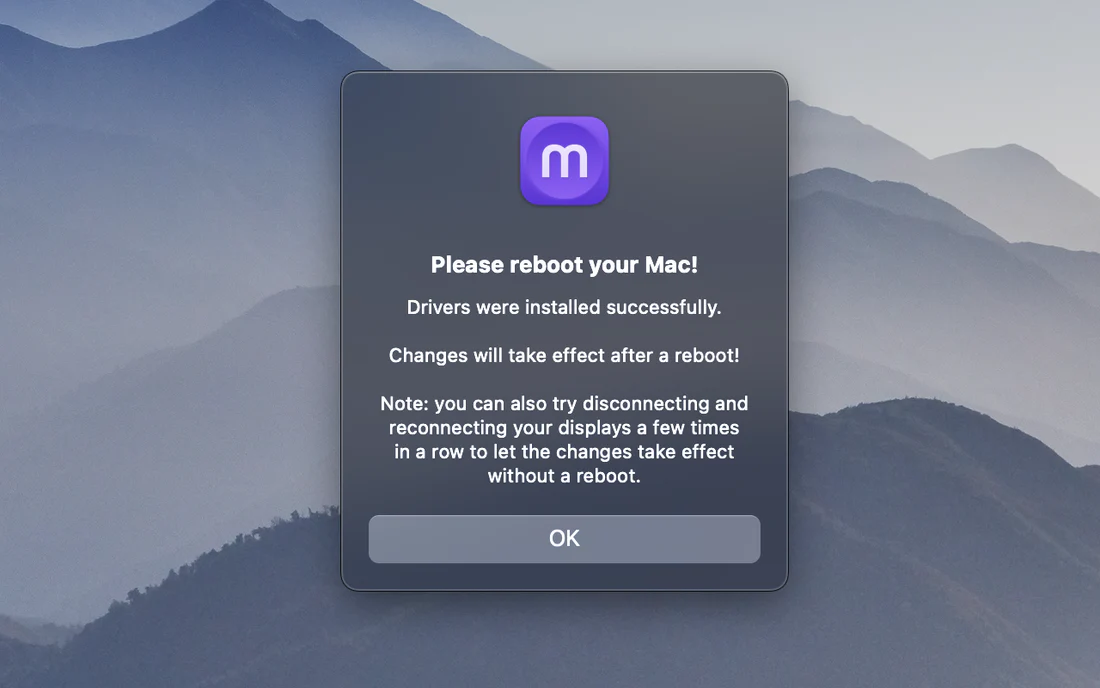
6. Install Complete.
You have successfully installed the Monduo app and drivers. To complete the setup, you can either reboot your laptop or disconnect and reconnect the USB cable.
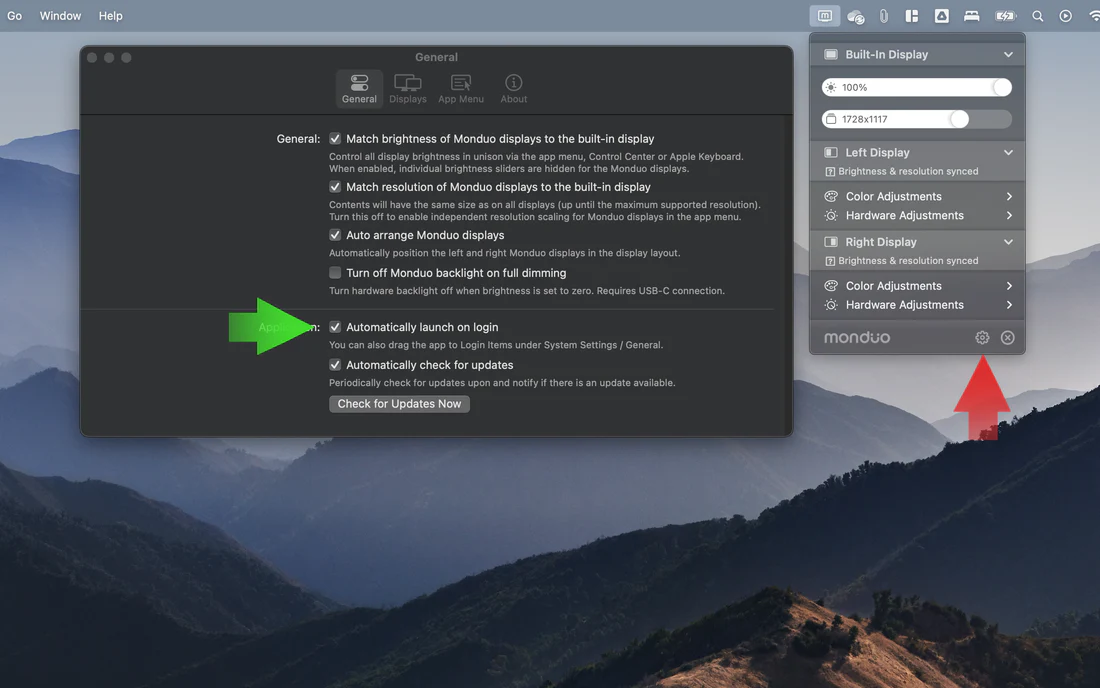
7. Auto-launch on Startup.
Ensure the Monduo app is configured to launch at startup. Click on the Monduo icon in the menu bar, then the settings icon, and check the "Automatically launch on login" box.